This article is about the Best Trekking Poles. Why may you want to use them? What to study and how to manage them once you’ve got them?
Click Image to Find Outdoor Products
What are the Best Trekking Poles?
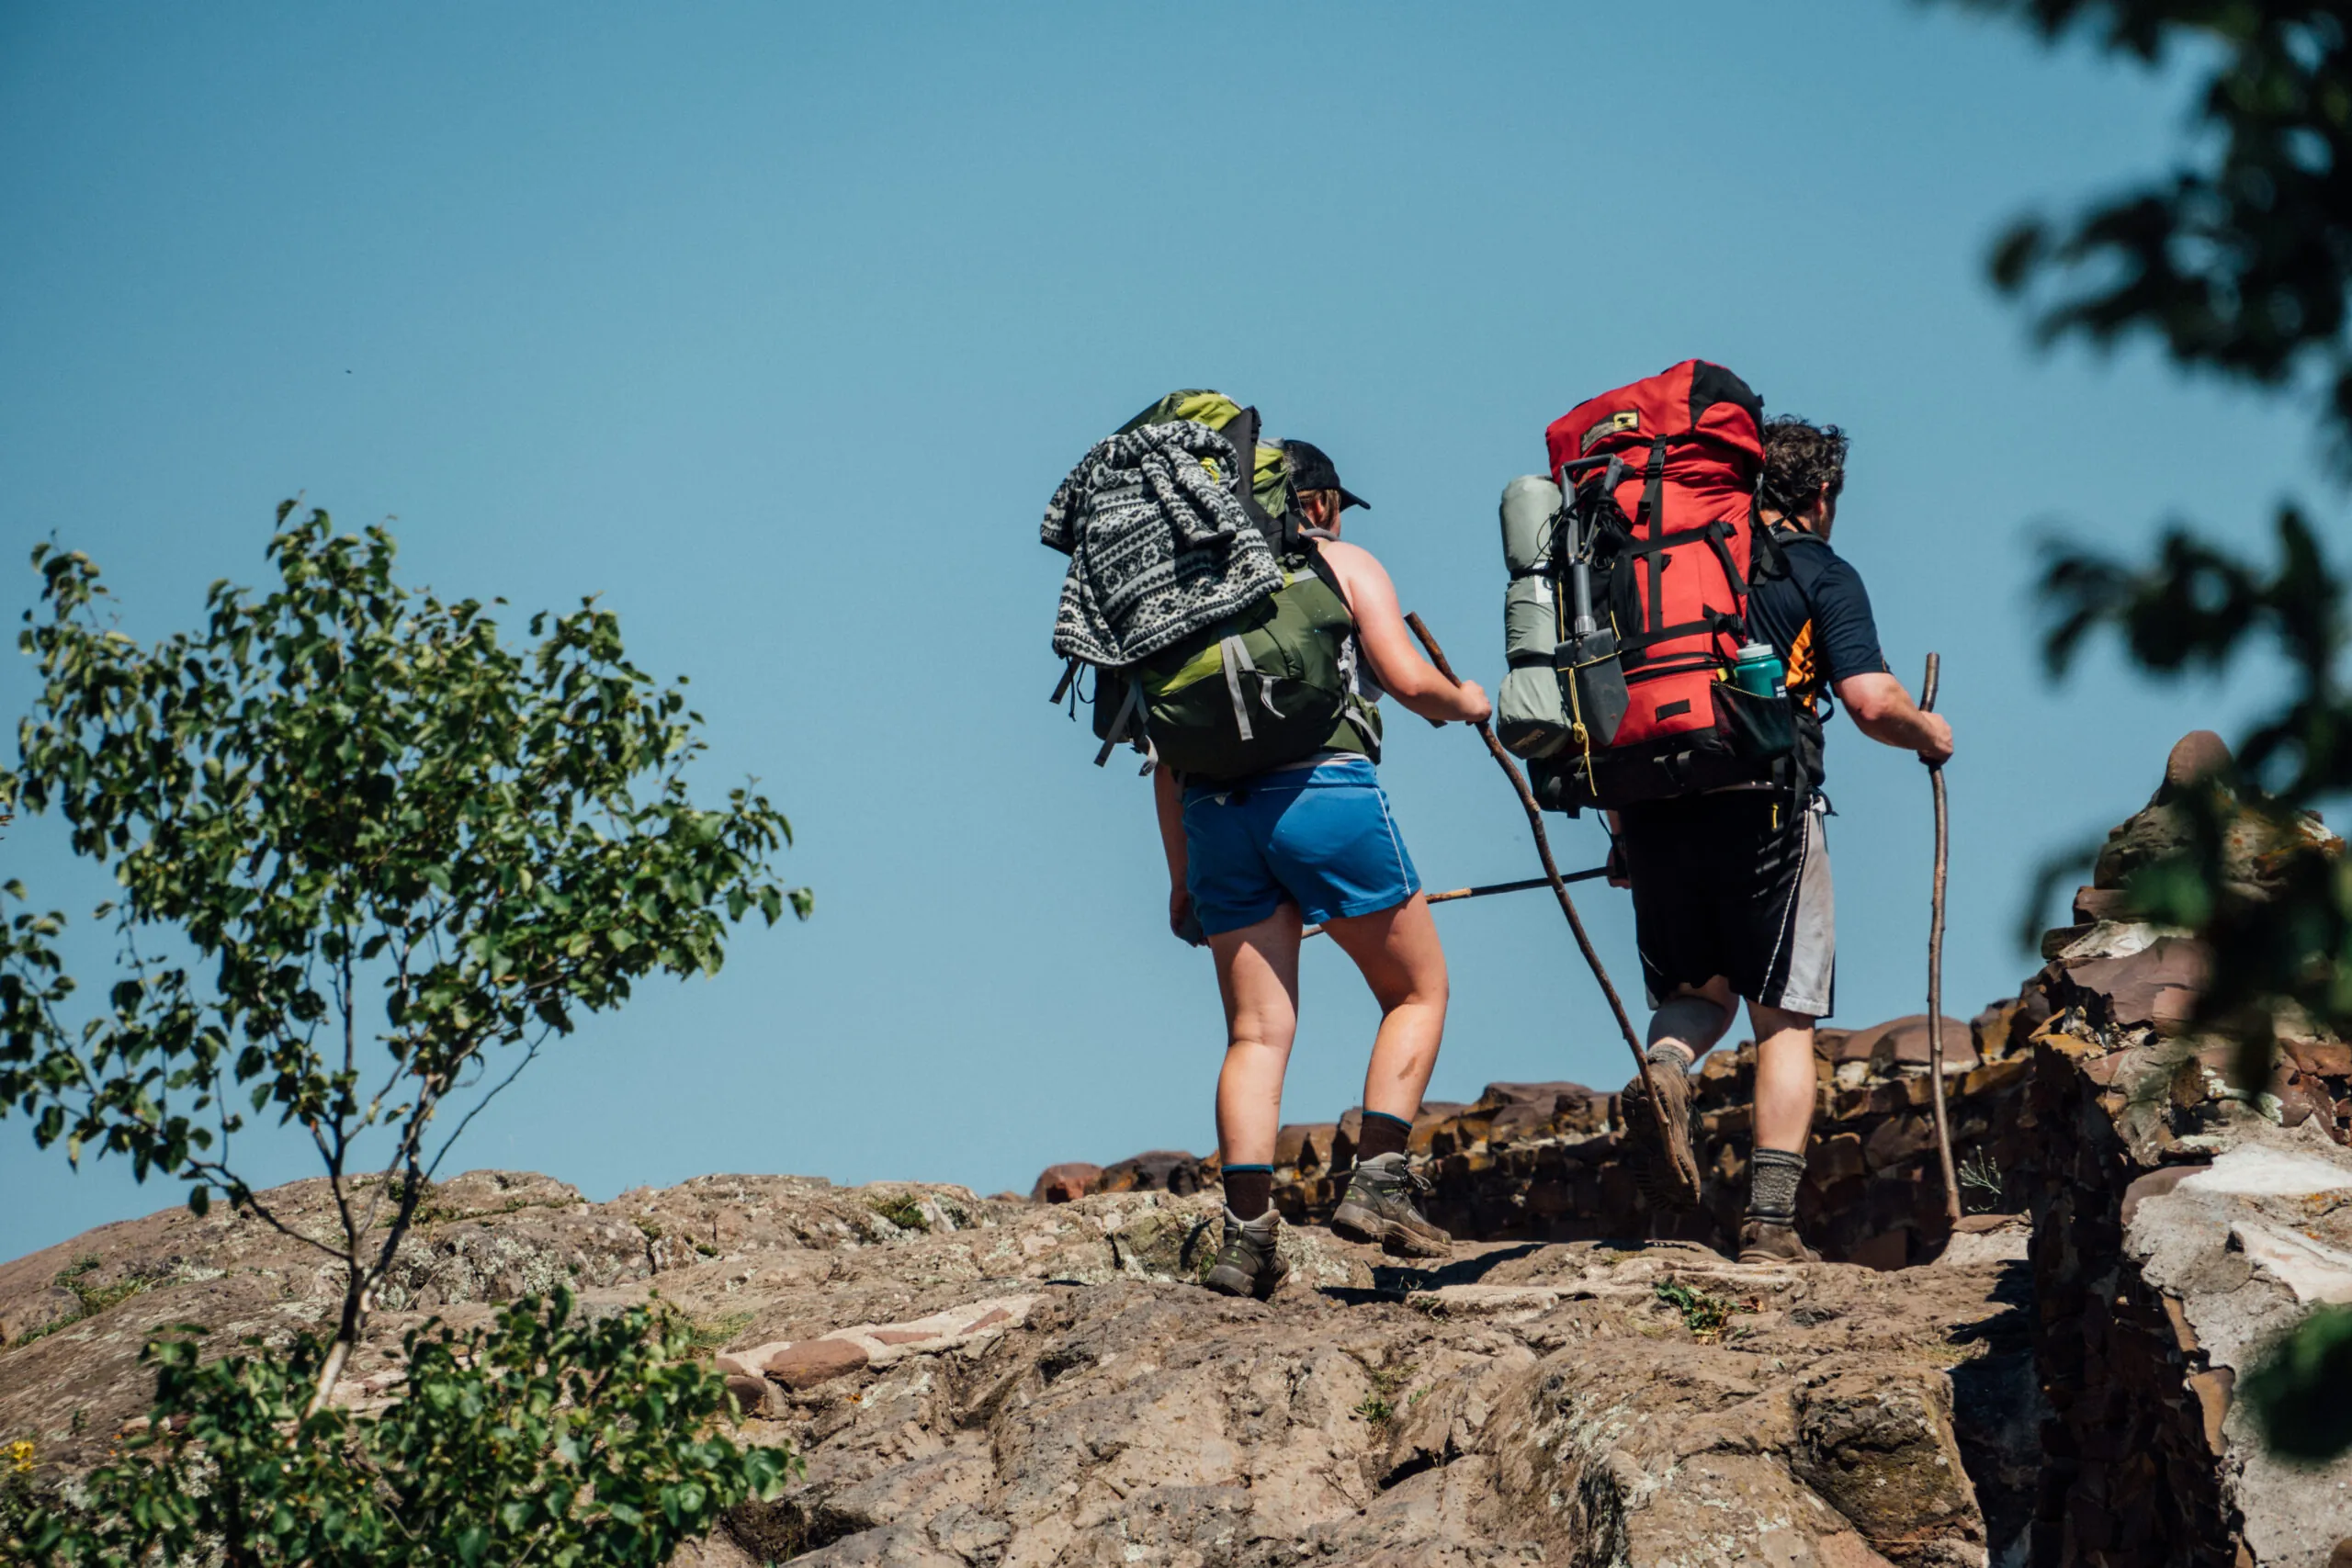
Best Trekking Poles are merely walking sticks. And though used to aid formal hiking rather than everyday walking, the principle is the same.
Moreover, Best Trekking Poles take many forms, ranging from single staves made from found wood to pairs of sophisticated height-adjustable poles made from lightweight (and expensive!) composite materials.

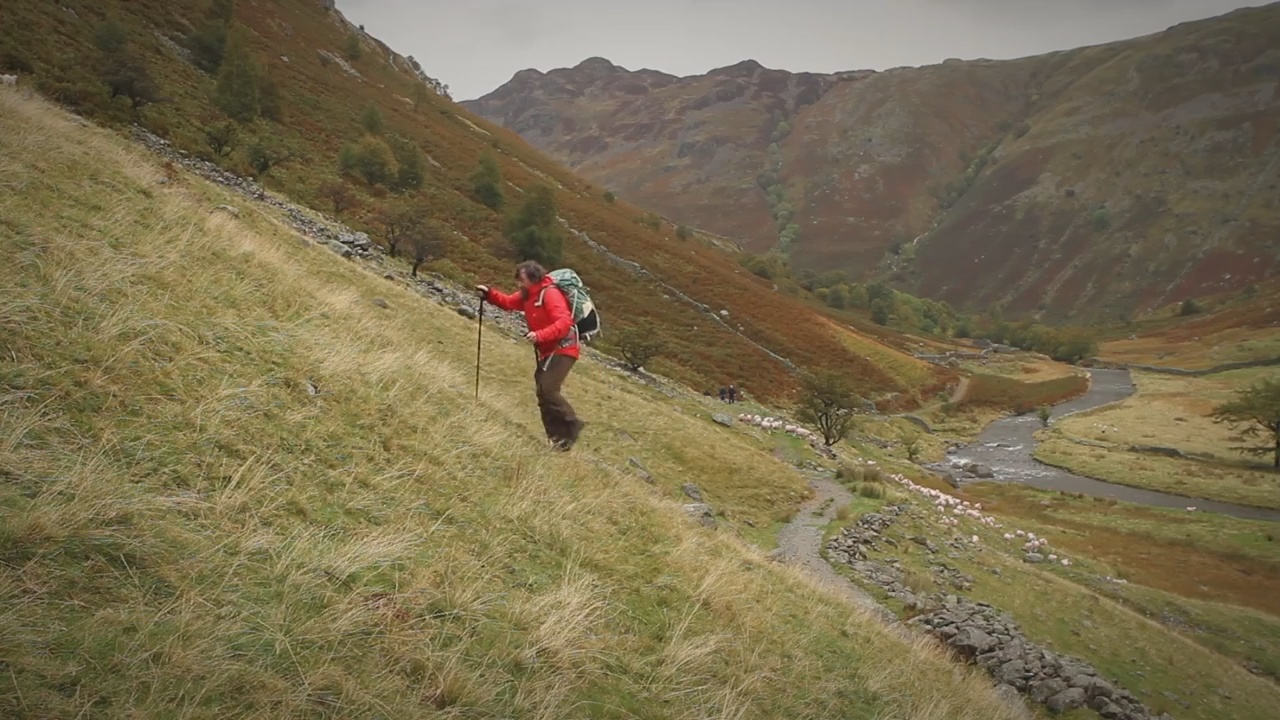
This page is for the potential user of purpose-built trekking poles, comparable to ski-touring bars that walkers have adopted in the Alps for many years.
The information may be helpful to other users who favor more traditional staves. But it concentrates on the specifics of ski-type poles.
Why use Best Trekking Poles?
First, the Best Trekking Poles design, like any hand-held walking assistance intention (Sticks, Crutches, Simmer Frames, etc.), is there to present extra stability. Also, spread the charge on your legs onto your arms.
Nonetheless, many people feel no need for Best Trekking Poles when hiking. But some people usually suffer from knee pain. And they typically face it on hills and carrying heavy weights.

Furthermore, if you end your days wishing your knees or whole legs were in better shape, you may benefit from using poles. For example, expressly, you can lower the stress on them by taking the weight onto the bars through your arms.
The lists below summarize the main pros and cons of Best Trekking Poles.
Pros Best Trekking Poles
-
- First, reduce knee pain
-
- Second, increase hill-climbing power
-
- Third, it can enhance endurance
-
- Also, aid crossing soft ground
-
- Finally, it can aid balance for activities like river crossing, scree running, etc.
Cons Best Trekking Poles
-
- First, financial outlay may be required
-
- Second, it increases total energy expenditure
-
- Third, keeps your hands full
-
- Besides, get in the way of technical sections
-
- Finally, often ineffective due to poor technique
Let’s explain each point.
Pro: Best Trekking Poles reduce knee pain
It seems like the typical knee supports most of its life weight on reasonably flat surfaces. Moreover, if you add additional pack weight and you keep going for longer than usual, you can have some discomfort.
Moreover, if you add extra stress on the joints and muscles caused by ascents and descents, it’s not surprising that you might suffer from some knee pain.

Therefore, you’re not so likely to want or need poles if you don’t. But if you do, they’ll probably improve, especially coming downhill.
Pro: Best Trekking Poles increase hill-climbing power
The steeper the hill, the higher the relative benefit of poles vs. no poles. Moreover, you can use them to switch to 4×4 mode. Also, do some of the work against gravity with your arms. So you get up quicker and spread the load evenly around your muscles.
Pro: Best Trekking Poles can increase endurance
You can improve your total endurance by spreading the load away from your legs, which are the bits that typically get tired on a hike.
However, this option isn’t necessarily a “given,” as poles increase total energy expenditure.
Pro: Best Trekking Poles aid crossing soft ground
By enabling you to spread your weight onto two baskets and two feet, there‘s much less tendency to sink in snow and marshy ground.
When traversing bogs, they also make aided jumps across particularly squishy bits possible, though if you don’t have a basket at the bottom, none of this will work—more on baskets lower down.
Pro: Best Trekking Poles can aid balance
Three or four legs are more significant than two when trying to cross rivers toward the limits of affordability. As well as making the adventure more comfortable, they can make it much safer.
In general, they lower the time you spend sitting down, though they can increase the fun factor by letting you ski reasonably effectively. And indeed aid turning under control.
Con: Financial outlay may be required
A dedicated ski-type pole will cost money. For added benefits, you do not necessarily need to buy the most expensive models. You might prefer cheaper ones, finding them as helpful as the top-of-the-line models.
But you may be better off spending your money on something else. Poles are not a must-have, like warm clothing in cold conditions. So if the budget’s tight, carefully consider the need for purchase.
Con: Increases total energy expenditure
Marketing departments do not often proclaim that Best Trekking Poles will increase your total energy budget. Using your arms to prop you up isn’t something they were for, so they don’t do it very efficiently.
The flip side is that despite using more energy, you’re spreading the load evenly around your body, so the legs aren’t doing all the work.

Thus, if you have tired legs and knees, then poles can be a win. But if you have a tired body, with your cardiovascular system at its limits, poles may be more a barrier than a relief.
Con: Keeps hands full
With pole(s) in hand(s), it becomes more awkward to use handholds on rock faces in tricky sections or to consult with a map, take quick snapshots, and the like.
For top navigation under challenging conditions, you’ll generally have to stow poles to use other tools like the compass and map more effectively.
Con: Get in the way of technical sections
As well as keeping hands full, there are places where poles plain get in the way. Dense undergrowth, climbing chimneys, and bars can get in the way when stowed.
Three-part poles stow smallest, so suffer least here. But it’s a hassle if you repeatedly collapse them to keep them out of the way.
Con: Often ineffective due to poor technique
The majority of people get little or no benefit from Best Trekking Poles. There seems to be some strange perception that you must carry a hiking pole planting it softly on the ground every couple of paces.
Getting a real benefit requires the user to do work and adopt a helpful technique. Then your knees will feel a lot better.
Notes on knee troubles
Most people take up hiking pole usage to make their life more comfortable, specifically in the knees. If you fall into this category, you must do more than use Best Trekking Poles, or you could just be putting off problems.
The best way to minimize knee trouble for many people is to have strong muscles supporting the knees, especially the quadriceps/thighs. This fact allows forces to take some of the load off the joints.
To get these muscles well developed, you need low-impact exercises. For example, cycling, XC skiing, and roller skating can improve matters enormously.
https://www.youtube.com/watch?v=Ck4LUo429Fw
Exercising like this strengthens the muscles around the knee and lets the musculature support the knee better. Add poles to this, and you’re helping. If you want to allow the thigh muscles to help your knees, keeping the knees bent is essential, especially when coming downhill.
And then, the muscular effort will take the load rather than jarring the joint. Your muscles may well ache at the end of the day. But tired muscles are generally more helpful than painful joints. And will naturally recover completely in a relatively short space of time.
https://www.youtube.com/watch?v=J3T3rNyVT3Q
Direct knee supports (i.e., athletic support or bandage around the knee itself) can be helpful. But it’s essential only to use them when you need them. Or the knee gets used to external support and may weaken by over-emphasizing the license.

The poles work by removing weight, but a shock absorber in the boot/shoe will often help too. Usually, the combination of impact and pressure gives rise to trouble. So Sorbothane (or similar) footbeds in the boots will help.
You may benefit from a custom or off-the-peg orthotic footbed. This footbed often corrects the gait cycle and prevents some knee and hip joint rotation. That‘s the cause of the trouble in the first place.

This fact is quite likely to apply to people who overpronate or supinate. And the easy way to see if you do is to check the heels of your shoes. And especially soft-soled athletic shoes.
https://www.youtube.com/watch?v=uej06UO3bU4
If they are wearing down unevenly, causing the footbed to slope in or out, this applies to you: it’s pretty standard. If you’re unsure, see a foot specialist to check things out, especially if you’re getting recurring trouble.
It‘s an excellent idea to seek expert advice if you are getting horrible pain in your knees. A specialist can advise on what is suitable for you, which you won’t get reading a Web page.
Features of Best Trekking Poles
There hasn’t been a shortage of models for years. And now their popularity is taking off beyond continental Europe. There’s even more choice.
This section looks at general features rather than specific models, so you can assess the suitability of any model you see.
One or two?
One pole is a benefit. But two is a more significant benefit. Most users will recommend twin poles unless you need a hand free or find using two Best Trekking Poles complexes.
With two Best Trekking Poles, you will save weight getting onto both knees. Furthermore, you will have more push for uphills. Finally, you will add more balance points to nastiness like river crossings.
Adjustable and fixed-length poles
Fixed-length poles are usually ski poles crossing into a different use. The advantages of a stationary length pole are greater strength in a pole of comparable cost or quality.
Plus, if you have got some ski poles of a suitable length tucked into an attic somewhere over the summer, they may not cost you anything extra.

More commonly, trekking poles are adjustable, usually in three telescopic sections. They may have just two if you’re using adjustable ski touring bars.
A two-part hiking pole is more robust but doesn’t pack down so neatly. So Best Trekking Poles get in the way more when stowed. That is an essential consideration of moving in densely vegetated areas or scrambling and climbing.
Three Best Trekking Poles, different lengths
You can use three poles, a typical expanded length for hiking. A two-part ski pole closed up, and a three-part bar closed up.
Poles for all occasions
This picture shows poles opened up for different uses. The left bar is still the same one, set for walking. But to the right are the two-part Lekis set at typical lengths for skiing activity.
The middle pole placement is for touring (though note that the tips aren’t in the ground, so it looks slightly overlong). The right-hand pole is for track skiing, which uses a more aggressive style to push you along rather than support weight, which is why the shorter set of the walking stick will do better.
Locking mechanisms
The locking mechanism of the poles is shown here, with two different systems. The upper bar is the more common twist lock, with the bolt drawn out of the stick (inside the sleeve in use).
When the lower section turns, it expands or contracts the locking grommet, thus releasing or locking the pole. Twist locks can be awkward to unset with sweaty hands or gloves. But in practice, they have proven reliable and straightforward enough for general use.
The lower pole is the more recent cam lock, which uses a lever to set the tension at the same level each time. They are easier to operate with gloved hands (important in snow conditions) and suffer less from too little stress leading to collapse when heavily weighted.

Grip and strap
An essential part of the pole, and sadly one which you misuse more often than not. Also, this is the bit you hold on to. And where your weight goes onto the pole, it must be as comfortable as possible.
Though this is relatively obvious, the fact that the most crucial element is the strap isn’t, with those not used to ski pole grips often getting it wrong. So let’s start with how not to hold it, though this is what I see most often in the field.
Don’t do this!
There are two mistakes here. First, and most importantly, the straps aren’t in a position to take any weight when pushing onto the poles as they’re going over, not under the wrist and heel of the hand.
Because of mistake number one, the only way to get weight onto the poles easily is through mistake number two, holding onto them like grim death. This fact is tiring and leads to sweaty, uncomfortable hands with weight transfer through the fingers, which design is not for the job.

So having seen how not to hold a pole, let’s move on to how to do it properly. The important thing is to give the strap take weight, which means it should be snug and allow a loose, comfortable grip from the fingers, which are just there to guide the pole, not to take a load.
A good grip is a better way.
Come up into the strap from underneath. And then, take hold with the belt under the palm of your hand, with the strap wrapping over the wrist from around the heel of your hand. Once you’re in, pull the strap so it’s snug (but not uncomfortably tight).
If you have a pole where the strap varies in thickness, you want the thinnest section to cross the palm of your hand, which minimizes chafing. Poles with variable-thickness straps have distinct left/right bars.
Let the straps take the weight.
Once the belt is snug, you can lean down all your weight onto the straps with no death grip necessary. The looser the hold from the fingers, the less sweaty and more comfortable your hands are. And the more you will emphasize weight transfer through the strap, which will maximize the benefit the poles give you.
Using a snug strap under the heel of the hand as the basis for a grip reduces the need for expensive materials on grips, such as cork, for comfortable hands.
Though such luxury grip materials make a difference, the fact that you don’t grip the grip very much or very hard means that they’re not nearly as significant as you might think. I use the cheap plastic grips shown in the pictures with no discomfort.
Poling ahead the easy way
Another innovation of perhaps limited usage is a design point borrowed from high-performance downhill ski poles. The grip is canted forwards at ~15 degrees to make it easier to plant the bar ahead of you downhill.
With the relaxed walking pace and resultant comfortable grip, it’s effortless to swing the pole ahead of you if you’re not holding it in your fist, as shown here.

Thus, the accented grip is probably not as significant for walking as some marketing folk may try and make out, at least if you adopt a comfortable, relaxed grip based on the strap as the primary loading point.
Shock Absorber
Some poles have shock-absorbing springs built into the shafts or handles. And the frequent question is, “are they worth it?” Based on my own experience, I’ve found the answer to be “no, not really.”
But it‘s not quite simple because arm joints can be in good shape, and previous experience with poles for ski touring and walking can give a fair dose of technique to avoid the sort of problem they’re designed to relieve.

From looking at walkers using poles for the first time, especially those relying on a tight grip rather than a loose one, there appears to be a common tendency to push the mast down, where a better technique is to place the pole and load it.
This point is a fluid action and just as easy. But it does need some practice. And before the technique is there, an anti-shock pole may be more comfortable.
Once you’ve got that technique, you’ve got something that doesn’t generally do you much good. This fact is mainly on a gear review on poles. And we find no difference in comfort levels between the two types after extensive use.
One of these tests involved a 10-hour day on the hills with about 2000 m of ascent and descent with a standard pole in one hand and an otherwise identical anti-shock in the other. And no tangible difference at the end of the walk.

Since most people can develop proper technique with practice, and a rigid pole is still comfortable enough in the first instance for most, for most I would recommend saving the extra money, though again, this isn’t a cut-and-dried case.
Some people may find the technique of place then load challenging to acquire, primarily if they only occasionally use the poles. And others may have special considerations, such as arthritic joints to consider.
If there is a point where they’ll help, it’s most likely to be coming downhill. Uphill and on the flats, poles should swing into place sideways so there is quite simply no shock to absorb (as we’ll see later when we get onto technique).
Downhill, with placements ahead of you and weight loading straight down, straight away, some people may experience a benefit.

Since shock-absorbing poles cost more (sometimes considerably more, with my pair of BD flicklocks cheaper than a single top-of-the-line Leki trekking pole), do try and find out if they help before parting with money, as it’s entirely possible you can save it. In the UK, and probably elsewhere, Leki has a “try before you buy” program so you can gauge for yourself just what you’re paying.
Baskets and tips
The tip is the base of the pole, where it meets the ground. And a bucket is an optional load spreader that sits above it. There are several varieties of each to choose from. Let‘s look at tips first.
Rubber foot
A rubber foot is what you typically see on a conventional walking stick. And its design is for slick, hard surfaces (like pavement) or surfaces that need preservation from damage (like carpet).
In the backcountry, these are less useful than spike tips, as the ground rarely conforms to either characteristic. But they can be good if you’re road walking or are on a bare rock for significant periods. You can place some over the top of spike feet.
Sharp spike
A sharp spike tip has a single, strong point. They‘re most often on ski poles designed to deal with ice. On relatively hard surfaces, they grip very well. But as an overall performer, they’re rarely significantly better than a semi-sharp spike and have far more potential to stab yourself or those around you.
Semi-sharp spike
These are the most common tips, which are generally helpful in typical backcountry situations. The suggestion has several small, blunted peaks or ridges in a circular pattern at the base.
So although the spikes have less holding power individually than a single, sharp peak, there are more of them — much less ripping and stabbing accident potential than a single sharp spike.
Baskets stop the pole from sinking into soft ground (boggy/marshy or snow, for example). The bigger the basket, the more effective it is.
But the more it gets in the way, especially catching in low vegetation. On most terrain, you use a compromise cone that will stop the pole from sinking in the ground, but only being about an inch/5 cm across, they’re less likely to catch.

If you find your poles sinking, get a broader basket, or if you see them catching, get a cone or remove the basket altogether. All the pictures here showing baskets show standard snow baskets since I can’t be bothered changing them from winter and don’t have any problems with them most of the time.
Care and maintenance
There’s not too much to do with poles, so this bit’s relatively short. Although they won’t rust, being alloy, you will generally get some corrosion appearing, especially if they are in a cupboard for a few months.
This fact will usually make the pole sections stick together if stored compressed down, so I’ve found it a good idea to save them in separate parts. If you keep the open ends down, water will tend to drain out.

Slight change of advice here: in the past, I’ve suggested tiny amounts of WD40 or similar moisture displacer for long(ish) term storage. Though doing that has never given me problems with my poles, and I’ve had no angry emails from owners of slipping sleeves,
I’m abandoning it as advice as I think it’ll be too easy to get it wrong and use it too much. If you do use too much, the sleeves won’t lock. And they’ll be real pigs to clean thoroughly.
If you find corrosion spots after storage, fine-grade abrasive paper can be used to clean off any spots as necessary. And this will also keep the surfaces smooth for consistent locking performance (though you may need to re-mark any length indicators, I use a magic marker).
Brushes for cleaning gun barrels are excellent for cleaning the inside sections. Indeed, some means of removing dirt, dust, and corrosion spots from the interior compartments would be a good thing.

Twist lock poles tend to suffer from the powder of corroded aluminum blocking up the locking grommet. So always make sure the grommet is clean before re-assembling for action.
WD40 or similar is good. But do wipe away any excess when you finish, especially from the edge where the grommet locks against the pole by friction. Storing bars in separate sections tends to reduce this problem.
Pole occasionally locks malfunction in the field but is usually easy to cure. For a flicklock, the tensioning cam can often come undone a little or getting the poles wet may reduce the friction too much.
This fact is easily cured by tightening the screw on the locking cam (easily remedied, that is, if you have a screwdriver with you or a suitable substitute: don’t leave home without one). With a twist lock, the problem is usually that the grommet is rotating with the lower pole section instead of expanding and locking.

This is usually due to a dirty grommet: pull the sections apart and wash off any corrosion and clag build-up from the threads. If this isn’t possible, you can usually start the thread turning a little with the grommet just exposed. And once created, you can push it back in and get some results.
Three-part poles are there to extend with all sections lengthened equally, as this is the most robust configuration. Don’t extend one area a lot and another not at all, or you’ll compromise overall strength and be more likely to bend the pole (which makes telescoping them very hard).
To extend 10 centimeters, continually expand each section 5 cm., though an exception to that rule may be if a taper on the lower section does not pass out of the midsection. Fully extend any taper first so that the entire width of the pole has a snug fit at the entry to the core before opening the body itself.
Using your poles
Now you’ve looked at pole anatomy, let’s look at how to use them. There are several techniques for using poles, mainly separated by the gradient you use them. Note that this is all about a two-pole process, as it’s the most efficient way to the bar.
You can adapt it for a single pole on one side quite quickly, though slightly more contrived methods using long poles become more valuable with just one. Also, note that what we present here is a way, not the way. But it works. If you find something that works better for you, then that’s what you should use.

Some notes on the length
There is no perfect length for a pole, so these pages don’t tell you what it is! A rule of thumb for a starting point is to have your forearm horizontal to hold the grip.
But that’s only a starting point. Experiment with the techniques given here with the poles set lower and higher and see what works for you (I prefer mine a little shorter than the “rule of thumb”).
As well as preference and physiology, different terrains may be better with different lengths.

When you go uphill, the ground will be nearer, so a shorter pole might be better, and similarly, longer going down. Also, you can change the length every time the gradient changes.
In practice, it is probably better to develop technologies that can adjust to gradient changes without modifying the pole. After all, you don’t put on different legs for different slopes, even if it might sometimes seem like an excellent idea!
On the flats and gentle uphills.
Some people assume that poles are only helpful on hills. But not so! Using them effectively on the apartments reduces the overall work of your legs and knees, so when you get to the mountains, they’re fresher and better up to the task.
The method is very similar to the cross-country ski technique, only with shorter poles. And you’re emphasizing pushing down rather than back.
However, the necessary technology remains the same. Let the poles swing naturally, just as your arms do without them. As your arm comes up, it pulls the bar forwards. And it plants opposite the falling foot. That allows you to load the bar as your foot comes down. Sound complicated? It isn’t, believe us.
Technique on the level: front
Here‘s a front view, and note how the walking posture would be pretty much the same without the poles. The left bar swung into place, opposing the right foot. That’s it, pointing back slightly. So if it’s shorter, it will ride through and land ahead.
The right pole, now just about done, will be pulled ahead with the natural swing of the arm as the left foot swing through.
Note the relaxed grip on the poles. All the weight goes through the strap, which would typically sink the tips to the baskets. But this was a “cheating” shot, which is why they’re resting on the ground.
Technique on the level
This one shows the front-back motion better. I‘m a shade out of focus. But that’s probably an improvement.
Both walkers are in mid-stride here, with me just about to plant my right foot and left pole (the pole’s pointing backward if you look more closely)—weight shares between the left stick and right foot. Louise’s weight is the other way around, and her footfall is just behind mine.

So, all there is to it is a natural swing, though remember to get the weight down onto the straps, or you’re just saving the weight of your arms.
The technique is the same going uphill (except for steep stuff, which we’ll look at later). Since the method is on natural rhythm, the shorter steps automatically compensate. So you don’t need to think about the change; keep on rolling.
You’ll probably notice a more significant difference going uphill, though! Before switching to down the hills, here are a few things to avoid.
Don’t pole same-side
Don’t swing the pole with the same-side leg. As this picture shows, it just doesn’t look natural. But more to the point, it doesn’t work so well. Planting opposite sides allow a better rhythm.
And it also allows you to add weight to the pole while keeping your weight more or less central. Weighting a bar planted outside the same-side foot tends to push you to overbalance.
Keep poles short(ish)
Don’t get the poles too long. The setup here is good for XC ski skating. But far too long for walking. To plant the lead pole relatively straight requires a vast, unnatural swing to get it in place (like the left pole here).
And it isn’t long before it’s at such a shallow angle (like the right) that all you can do is push back rather than down. Neither are problems for skating. But walking, you’re doing extra work and doing an inferior job of propping up your weight.
The best way to set the length is to try a few different ones. When you have it right, the pole will swing into the ground just by your opposite foot when walking on the level field—also, pointing slightly back from the vertical.