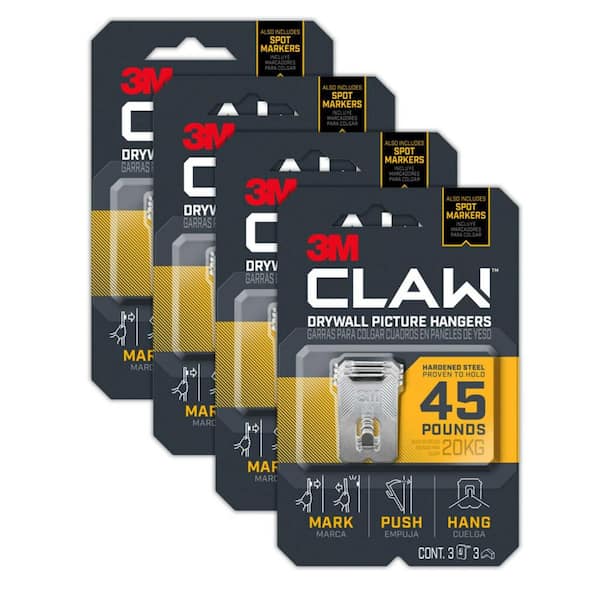
Understanding the 3M Claw: What Makes it So Sticky
The 3M Claw is a powerful adhesive product widely used in various industries and DIY projects. Its exceptional bonding strength and versatility make it an ideal choice for bonding materials such as metal, plastic, and wood. However, this same strength can also make it challenging to remove, especially when it’s no longer needed. When it comes to learning how to remove 3M Claw, understanding its composition and adhesive properties is crucial in developing an effective removal strategy. By grasping the science behind the 3M Claw’s stickiness, individuals can better prepare themselves for the removal process and avoid common mistakes that can lead to damage or residue. The 3M Claw’s strong adhesive properties are due to its unique combination of polymers and resins, which create a strong bond between the adhesive and the surface it’s applied to. This bond can be difficult to break, making it essential to use the right techniques and tools when attempting to remove the 3M Claw.

Click Image to Find Outdoor Products
Preparation is Key: Gathering Essential Tools and Materials
Before attempting to remove the 3M Claw, it’s crucial to gather the necessary tools and materials to ensure a successful and damage-free process. When learning how to remove 3M Claw, having the right equipment can make all the difference. Some essential tools and materials include solvents such as acetone, mineral spirits, or Goo Gone, which can help loosen the adhesive bond. Adhesives like WD-40 or silicone-based lubricants can also be used to weaken the 3M Claw’s grip. Scraping tools like razor blades, putty knives, or credit cards can be used to gently pry the adhesive off the surface. Additionally, having some cleaning products like soap and water, or specialized adhesive removers, can help remove any remaining residue. It’s also important to have some protective gear like gloves and safety glasses to prevent injury. By having all the necessary tools and materials, individuals can ensure a safe and effective removal process.
How to Loosen the Grip: Applying Solvents and Adhesives
When learning how to remove 3M Claw, understanding the right solvents and adhesives to use can make a significant difference in the removal process. To loosen the 3M Claw’s grip, various solvents can be applied to weaken the adhesive bond. Acetone, for instance, is a common solvent that can be used to dissolve the adhesive, making it easier to remove. Mineral spirits, Goo Gone, and WD-40 are other effective solvents that can be used to loosen the 3M Claw’s grip. When applying solvents, it’s essential to follow the manufacturer’s instructions and take necessary precautions to avoid damaging the surface or causing skin irritation. Adhesives like silicone-based lubricants can also be used to weaken the bond, making it easier to remove the 3M Claw. It’s crucial to test a small area first to ensure the solvent or adhesive doesn’t damage the surface. By applying the right solvents and adhesives, individuals can effectively loosen the 3M Claw’s grip and make the removal process much easier.

Scraping and Prying: Techniques for Safe Removal
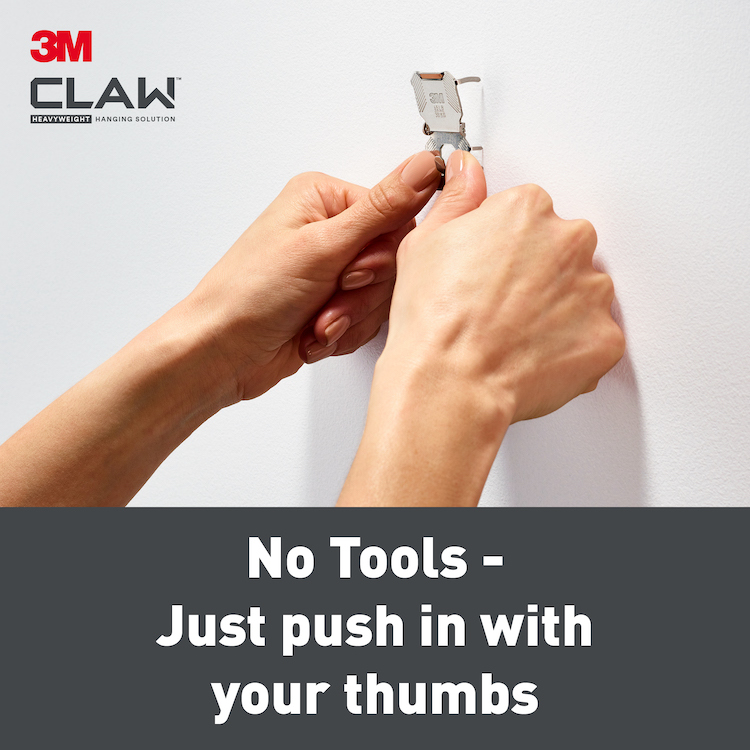
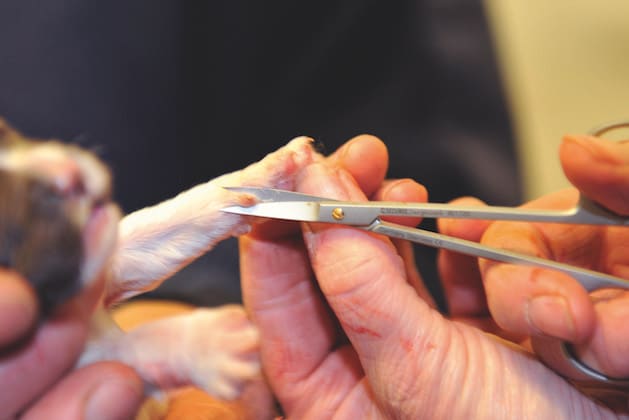
Once the solvents and adhesives have been applied, it’s time to use scraping and prying techniques to remove the 3M Claw. When learning how to remove 3M Claw, it’s essential to exercise caution and patience to avoid damaging the surface or causing injury. One effective technique is to use a razor blade or putty knife to gently scrape off the adhesive, working from one edge of the 3M Claw to the other. Another method is to use a credit card or similar tool to pry the 3M Claw off, taking care not to apply too much pressure. It’s also important to use protective gear like gloves and safety glasses to prevent injury. Additionally, working in small sections and using a gentle, back-and-forth motion can help to avoid damaging the surface. By using these techniques and exercising caution, individuals can safely remove the 3M Claw and achieve a successful outcome.
Removing Residue: Tips for a Clean Finish
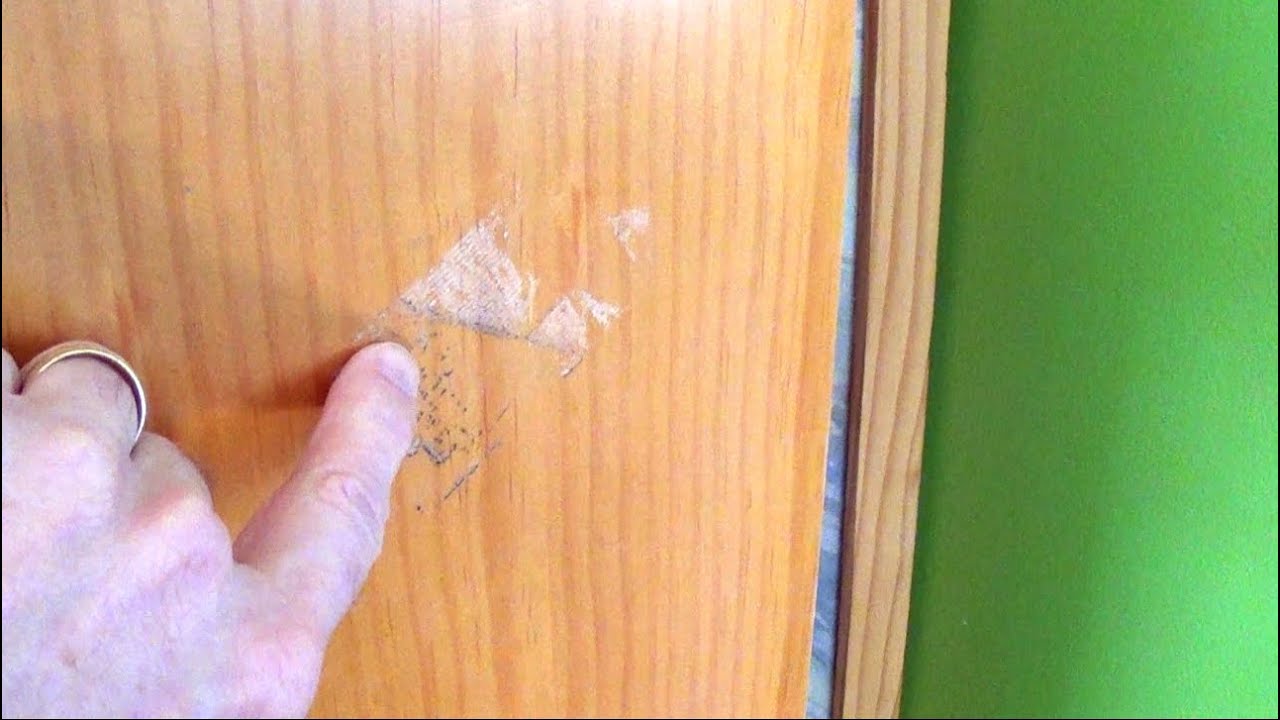
After successfully removing the 3M Claw, it’s essential to remove any remaining adhesive residue to achieve a clean finish. When learning how to remove 3M Claw, individuals often overlook this crucial step, which can lead to a sticky mess. To remove residue, a gentle cleaning product such as soap and water or a specialized adhesive remover can be used. For more stubborn residue, a solvent like acetone or Goo Gone can be applied, taking care to follow the manufacturer’s instructions. It’s also important to use a soft cloth or paper towel to wipe away the residue, avoiding scratching the surface. Additionally, using a microfiber cloth can help to remove any remaining residue and leave the surface clean and residue-free. By following these tips, individuals can ensure a clean finish and avoid the hassle of dealing with leftover adhesive residue.
Common Mistakes to Avoid: Troubleshooting Removal Issues
When learning how to remove 3M Claw, it’s essential to be aware of common mistakes that can lead to removal issues. One of the most common mistakes is using excessive force, which can damage the surface or cause the adhesive to spread. Another mistake is not preparing the surface properly, which can lead to the 3M Claw not coming off cleanly. Additionally, using the wrong solvents or adhesives can also cause problems, such as damaging the surface or leaving behind residue. To troubleshoot these issues, individuals can try re-applying solvents or adhesives, using a different scraping or prying technique, or seeking guidance from online resources or professionals. By being aware of these common mistakes and taking steps to avoid them, individuals can ensure a successful removal process and achieve a clean finish. Remember, patience and persistence are key when learning how to remove 3M Claw, and taking the time to troubleshoot issues can make all the difference.
Alternative Methods: Exploring Other Removal Options
In addition to the traditional methods of removing the 3M Claw, there are alternative approaches that can be effective. One such method is using heat to loosen the adhesive. This can be done by applying a hair dryer or heat gun to the area, taking care not to apply too much heat, which can damage the surface. Another alternative method is using cold temperatures to freeze the adhesive, making it easier to remove. This can be done by applying an ice pack or dry ice to the area. Additionally, using a combination of heat and cold can also be effective in removing the 3M Claw. It’s essential to note that these alternative methods may not be suitable for all surfaces, and individuals should exercise caution when using them. When learning how to remove 3M Claw, it’s crucial to consider the surface type and choose the most appropriate removal method. By exploring these alternative methods, individuals can find the best approach for their specific situation and achieve a successful removal.
Conclusion: Mastering the Art of 3M Claw Removal
In conclusion, removing the 3M Claw requires patience, persistence, and the right techniques. By understanding the 3M Claw’s strong adhesive properties, gathering the necessary tools and materials, and applying the correct solvents and adhesives, individuals can successfully remove the 3M Claw. Additionally, mastering various scraping and prying techniques, avoiding common mistakes, and exploring alternative methods can ensure a clean and efficient removal process. When learning how to remove 3M Claw, it’s essential to remember that practice makes perfect, and taking the time to troubleshoot issues can make all the difference. By following the steps outlined in this guide, individuals can master the art of 3M Claw removal and achieve a successful outcome. With the right approach and mindset, removing the 3M Claw can be a breeze, and individuals can enjoy a stress-free and effortless adhesive removal experience.
